Recolouring Paintings using Photo Studio in SimPE (TS2)
Aug 6, 2014 21:39:18 GMT -5
Samantha likes this
Post by Caitlin on Aug 6, 2014 21:39:18 GMT -5
Hello all! I decided I wanted to throw together a super quick and simple tutorial on how to make your own painting/photo recolours for TS2. This tutorial is different from the way Laura recoloured paintings, because it uses Photo Studio and not Object Workshop (Photo Studio is much easier and quicker to use imo., but that is just my opinion).
Programs Required:
→ SimPE
→ a photo editing program, such as GIMP or Photoshop
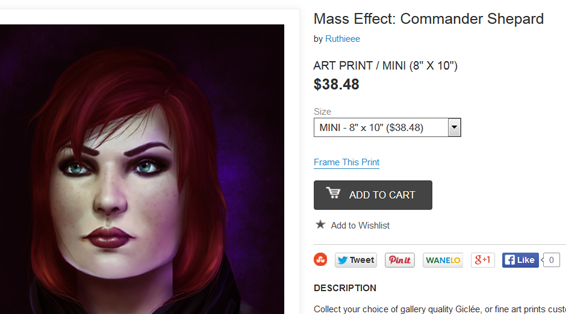
First of all, find some artwork that you would like to throw into your game. I've found some awesome Mass Effect artwork by Ruthieee over at Society6 (seriously guys, Society6 is such a great place to find artwork. I recommend checking it out if you don't know where to start).
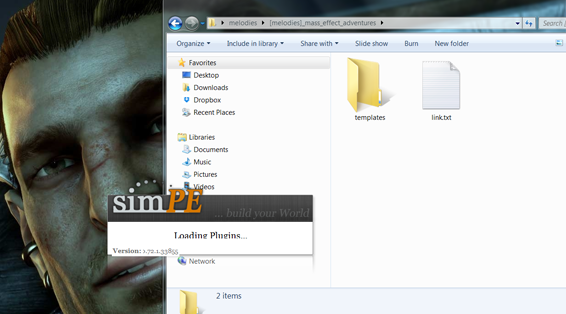
Save all of the images that you would like to use in a folder for easy-finding and convenience. I typically keep all of the saved images under a folder called "templates". Open SimPE.
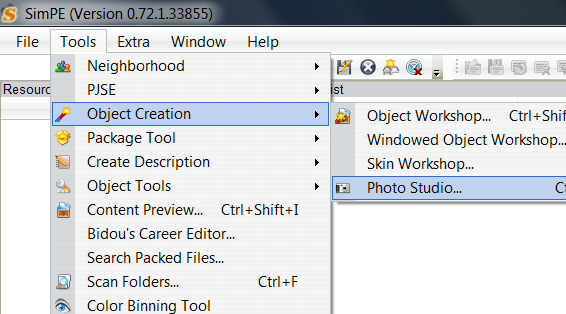
Once in SimPE go to Tools > Object Creation > Photo Studio. If this is the first time you are opening up Photo Studio, it may ask you if you want to install photo templates. ALLOW IT TO DO SO. It may take a while to download them all.
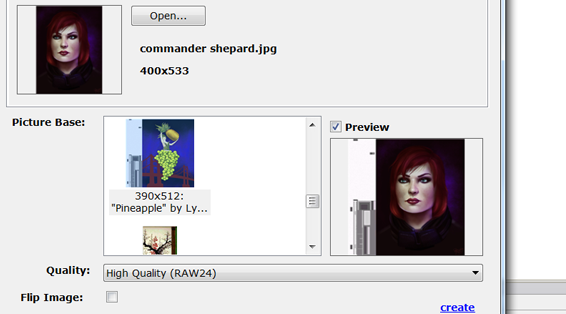
Once inside Photo Studio, find a painting you would like to recolour. Open up your photo, and make sure that Preview is checked and Flip isn't (unless you want your photo backwards). Check out your photo, see if it looks alright.
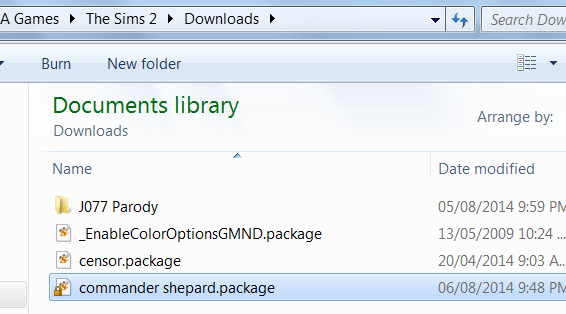
Since the original photos I chose were similar in size to the Pineapple mesh, they look good the way they are. Click the create button, name it something, and it will appear in your downloads folder.
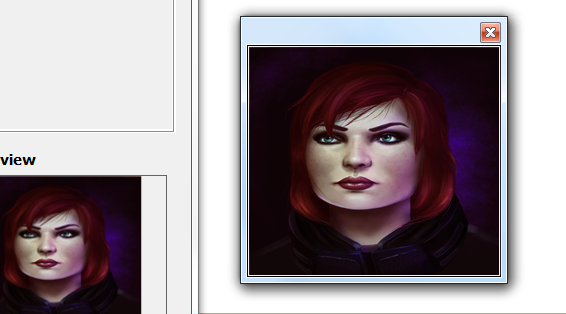
What happens if you chose a mesh that doesn't fit your photo nicely? If you look in the picture above, the photo I used looks a little stretched. That's because Photo Studio is trying to resize my image to fit the mesh. Here is my way of fixing this: click on the photo to pop up a bigger, clearer version of it and click the "print screen" button on your keyboard (on laptops you would click FN + print screen).
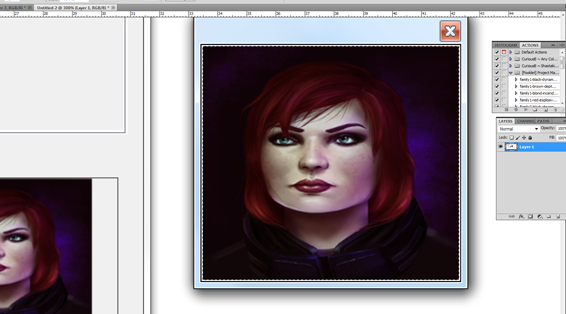
Open up Photoshop or whatever editing program you use and and paste the image. Copy your stretched image from the preview picture.
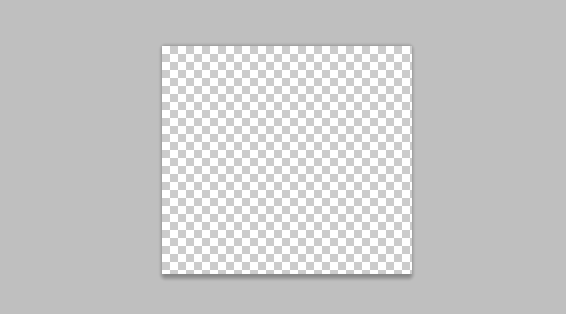
Paste this once again in your editing program and you will end up with a square that is the same size as the mesh. This gives you a template to resize your images on and fit them the way you like.
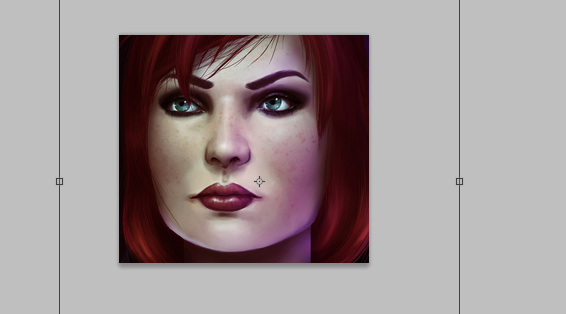
Resize your image on the template and fiddle around with it until you like it. Once finished, save it somewhere.
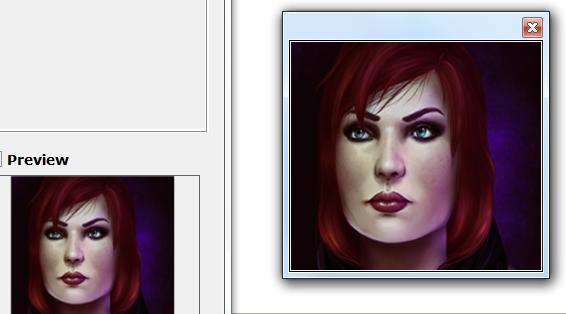
Check out your edit in Photo Studio. If you like it, create your package and do this for the rest of your photos.
Let me know if you guys use this tutorial to make any paintings! I would love to see your creations.


 The Sims 2 & 3 Gameplay